
It’s a new year! I can hardly believe the difference I feel in its arrival. There is some magic behind those numbers, I don’t care how illogical this sounds; I already know this year will be different. And like all fresh starts, we’ve been making complete breakfasts (oh my goodness! As in, not cereal from a box!) during our mellow holiday, and let me tell you: this makes all the difference in the world. I will be awakening earlier once school starts again *just* so we can enjoy sitting down together to eat our breakfast. What a concept!
Check out how YELLOW our hen’s eggs are! Here’s the difference between store-bought eggs and home-grown:
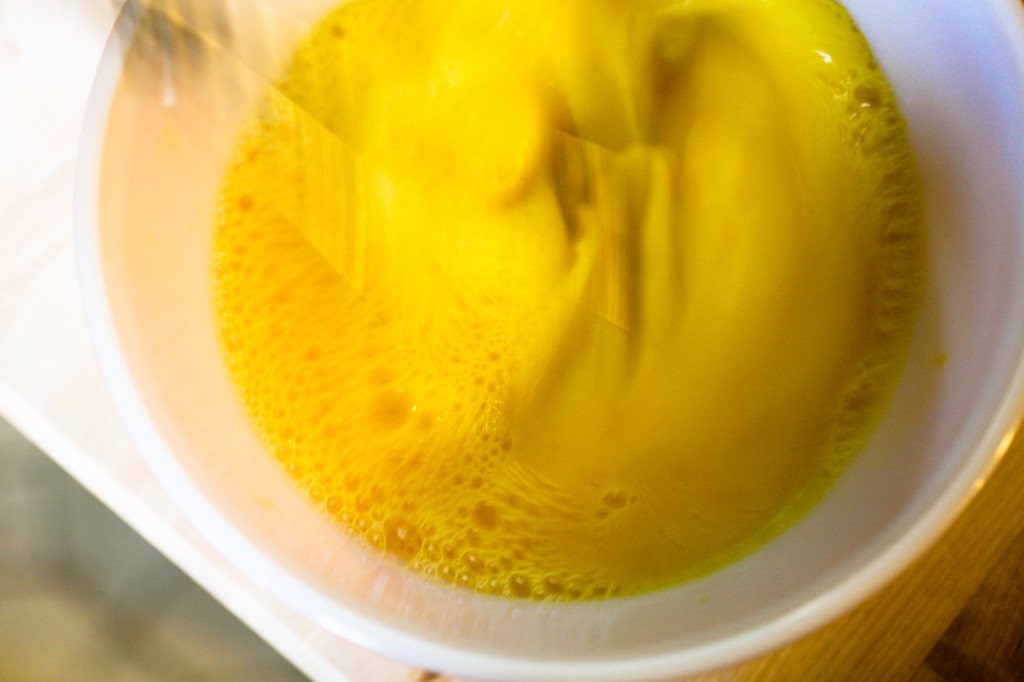
This morning we made aebelskivvers. You know, the treat-filled Scandinavian pancake that requires that special pan with the little holes? These have become Chas’ favorite breakfast item, along with bacon. If he could have his way, he would get pancakes or waffles alongside (more accurately, underneath) his aebelskivvers, but this mama has only *so* much energy behind one cup of coffee. Not to mention the redundancy? And the sugar highs? Oh my!
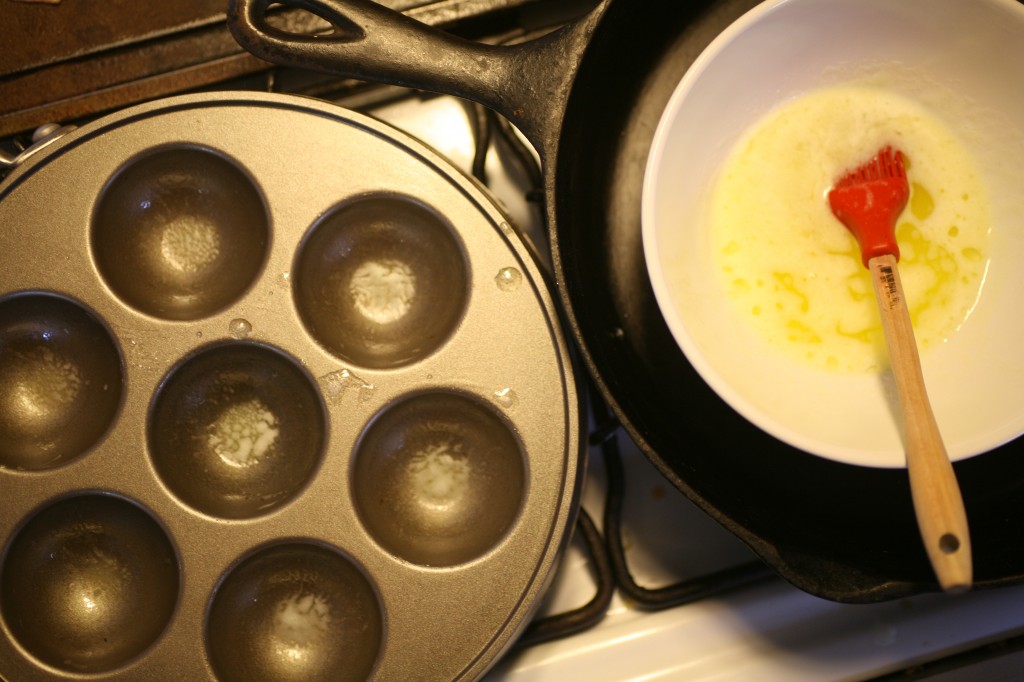
This recipe is the best I’ve come up with, after some experimenting:
Basic Ebelskivver Batter
4 eggs, whipped up nice and bubbly
1/2 cup water
1/2 cup milk
1 cup all-purpose flour
1/2 tsp salt
2 tsp baking powder
1 T melted butter, for oiling the pan
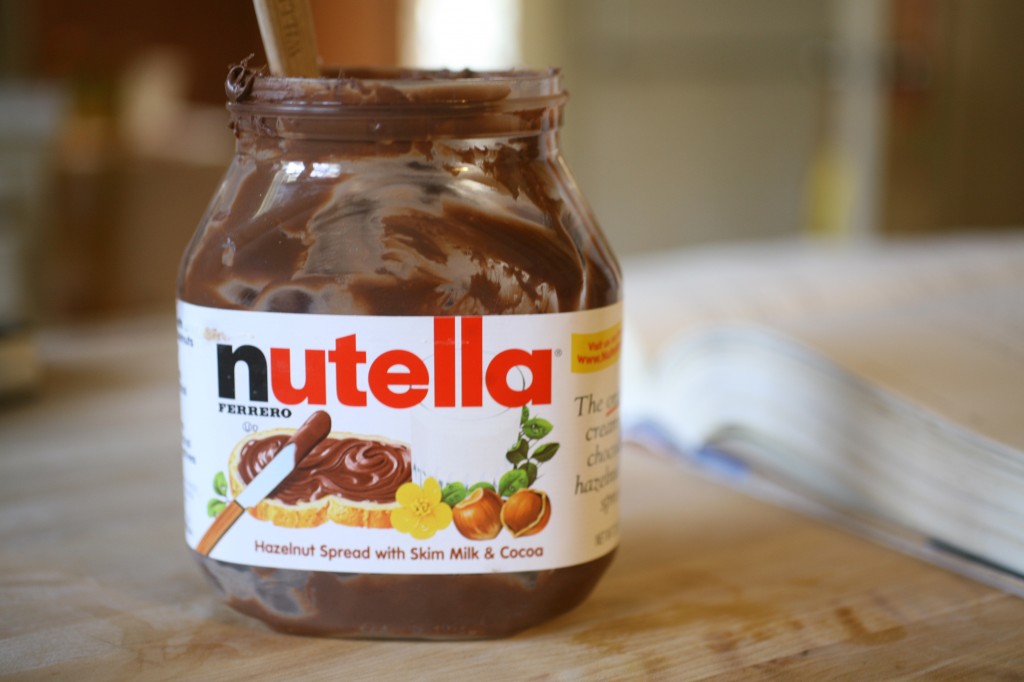
Preheat the pan, mix up the wet and dry ingredients separately, then fold together gently until all floury gobs are gone. Let sit for five minutes (as the pan raises to a medium-high heat). Baste the pan holes with butter, then fill each hole in the pan 2/3 full with the batter. Next, top each dollop with a morsel of something yummy (our favorite? Nutella!) and then cover the morsel with enough batter to completely fill the hole.
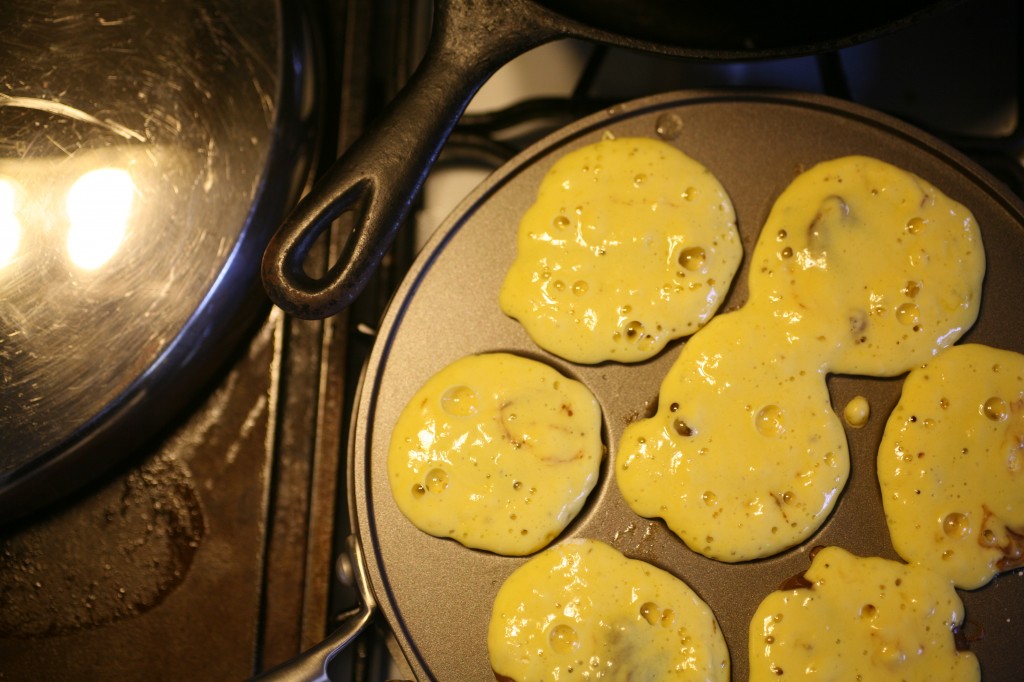
When each pancake turns slightly drier around the sides, you will know to turn them over. Taking two chopsticks, use one to push the tip of each pancake down into the hole while using the other chopstick to assist the opposite end of the pancake up and over to complete the flip. In a matter of a few minutes, they will be done (the bottom–as well as the top–should look golden).
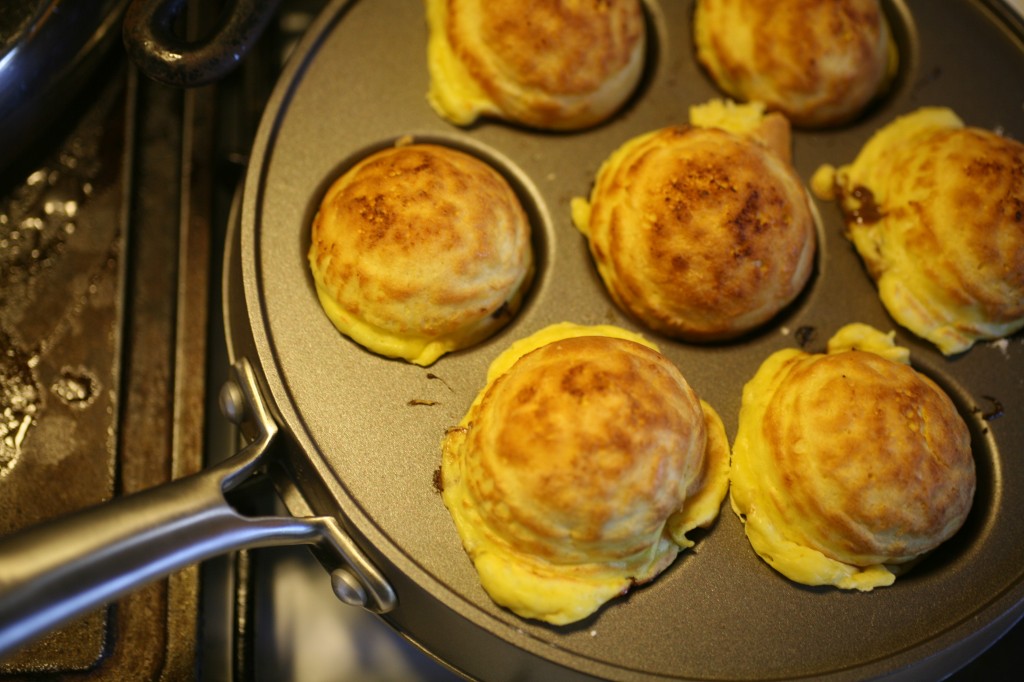

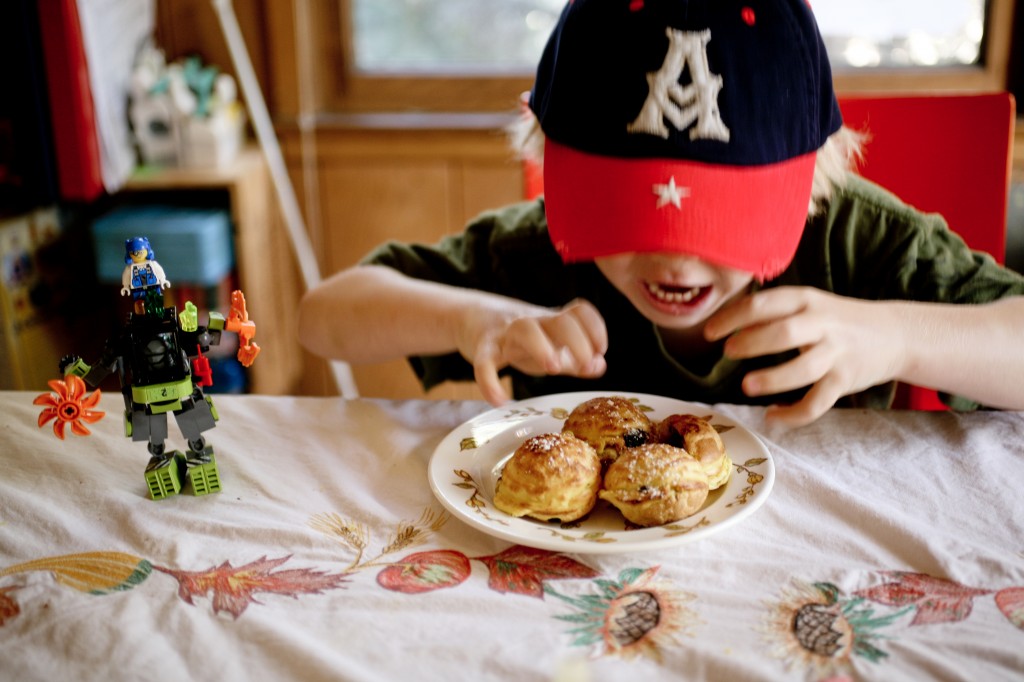
So I got a lot of work done today! It really pays to start the day off right with a good breakfast. Well, I actually had cream of wheat and orange juice but you get the point. I moved EARTH! (Well, a lot of earth for this little lady)
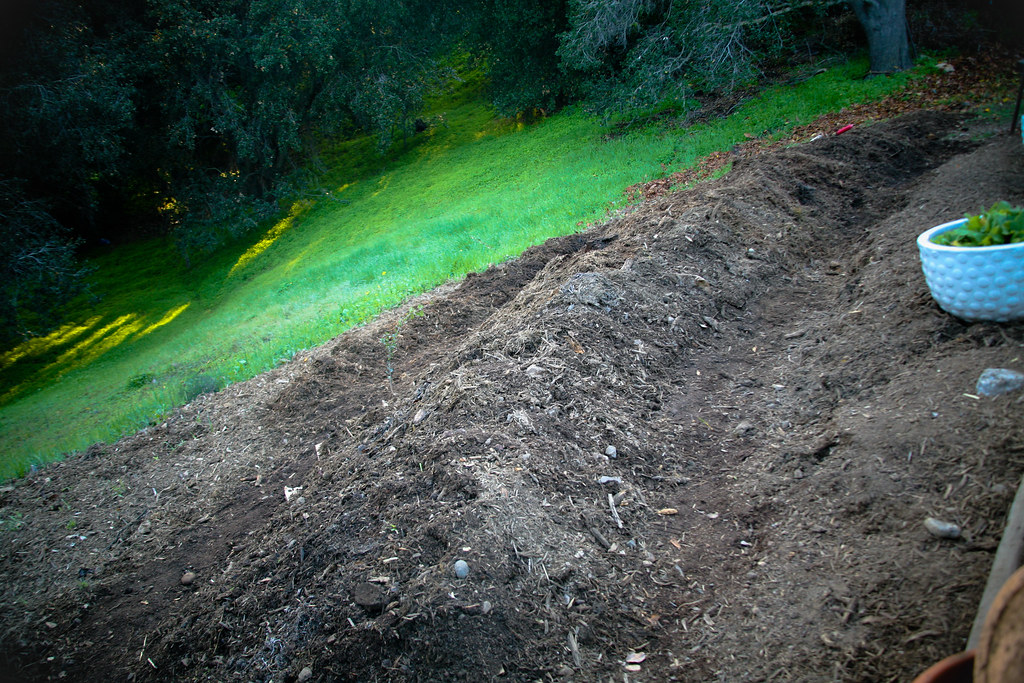
We have this sloping, southwest-facing backyard, well-suited for gardening. When they cut the Monterey Pine tree (the tire swing tree) down last year, the hill became filled with the mulch from the tree. I built raised beds at the top of the hill last spring (now topped with the chicken tractors!), but as with all projects I begin I had to take the entire garden build and break it down into steps, season-by-season. Well, it’s time for a new terrace, so that’s what I continued working on.
By sheet mulching (lasagna gardening) I added first a layer of chicken manure, then a layer of newspapers, then a layer of leaves, then cardboard sheets from broken-down boxes, and finally another 3-4 inches of bark mulch atop that. I’m sore already. It felt so completely wonderful being outside in the warm sun today. The boys later would come out and join me for a little conversation while I worked, but I was mostly alone with the cats and Seti, who would occasionally help me dig.
And then there were the chickens and the leftover aebelskivvers!
I hope you enjoy the recipe as much as all of us!




thanks for the recipe. sounds delish! will definitely try it. what a lovely garden and chick tractor you;ve got. i might have to ask you how you built it. hint hint!
wow! the greens in your part of the world are so GREEN! beautiful. here they are drab, grey, silvery. they must be drought resistant to survive here….it’s so dry i’m permanently parched i think.
happy gardening!
Jude just loves the pics of Chas digging in !